Plugin information
| Version | 1.2.0 |
|---|---|
| Author | Dataiku (Alex Bourret) |
| Released | 2019-11-26 |
| Last updated | 2025-02-04 |
| License | Apache Software License |
| Source code | Github |
| Reporting issues | Github |
How to set up
There are two methods for accessing your Google Drive documents: via sharing with a service account, or direct access using Google’s Single Sign On.
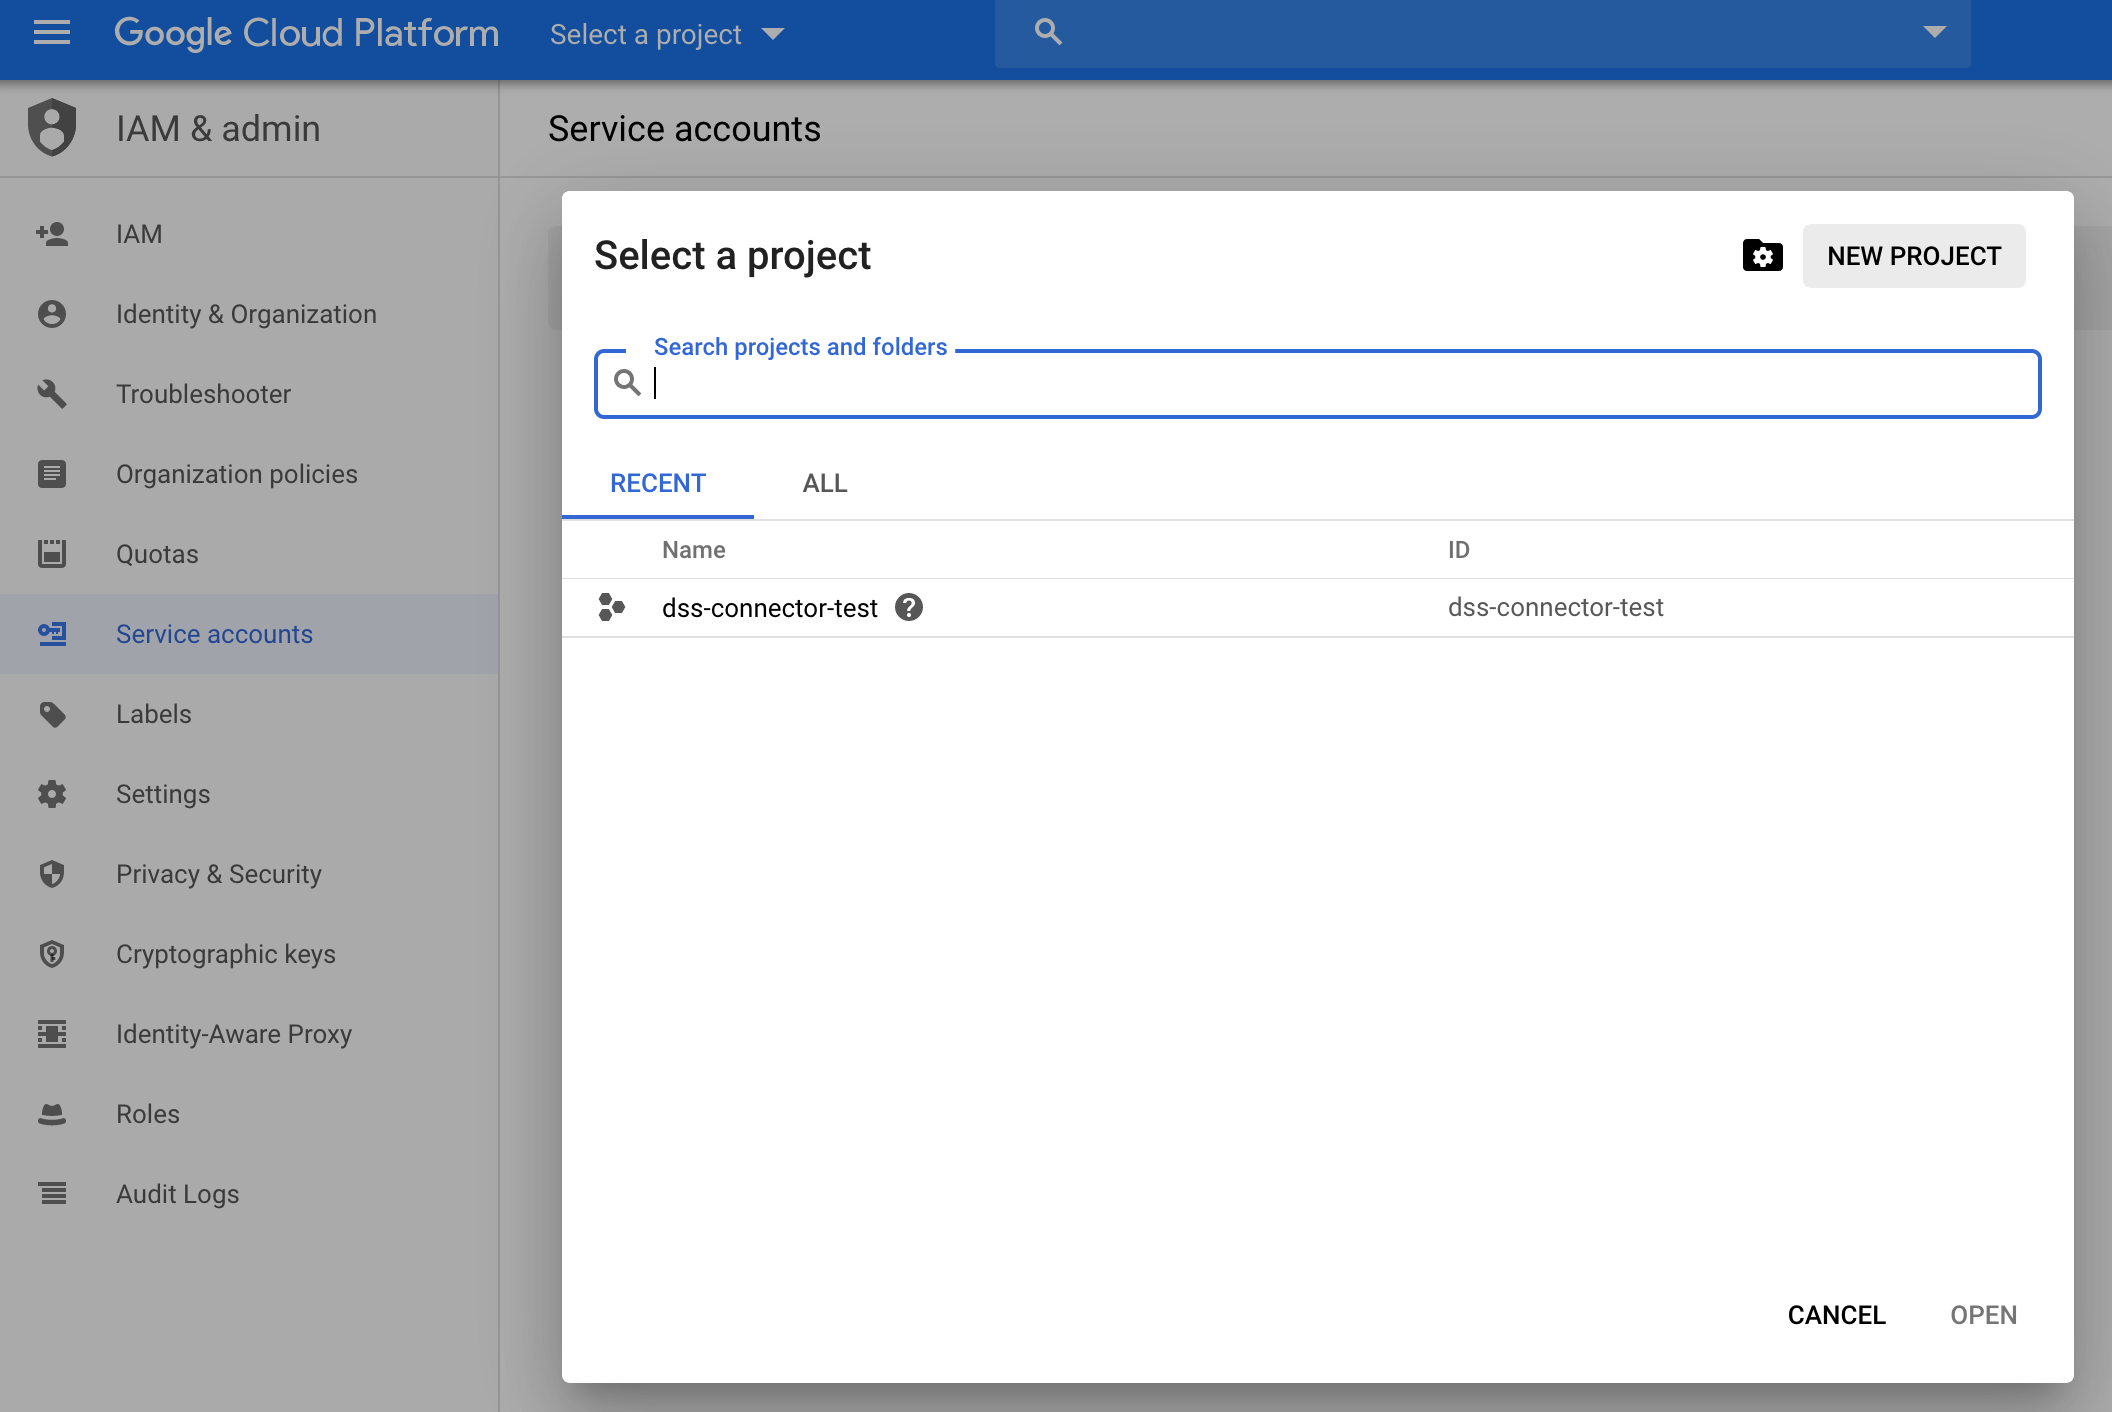
From the Google service account tab, create a new Google Cloud Platform project:
- Select a project > New Project and fill in the required information.
- Enable the Google Drive API for your project
Using a service account
If you choose to use the service account method for sharing your data, you now have to create one such account in your GCP project:
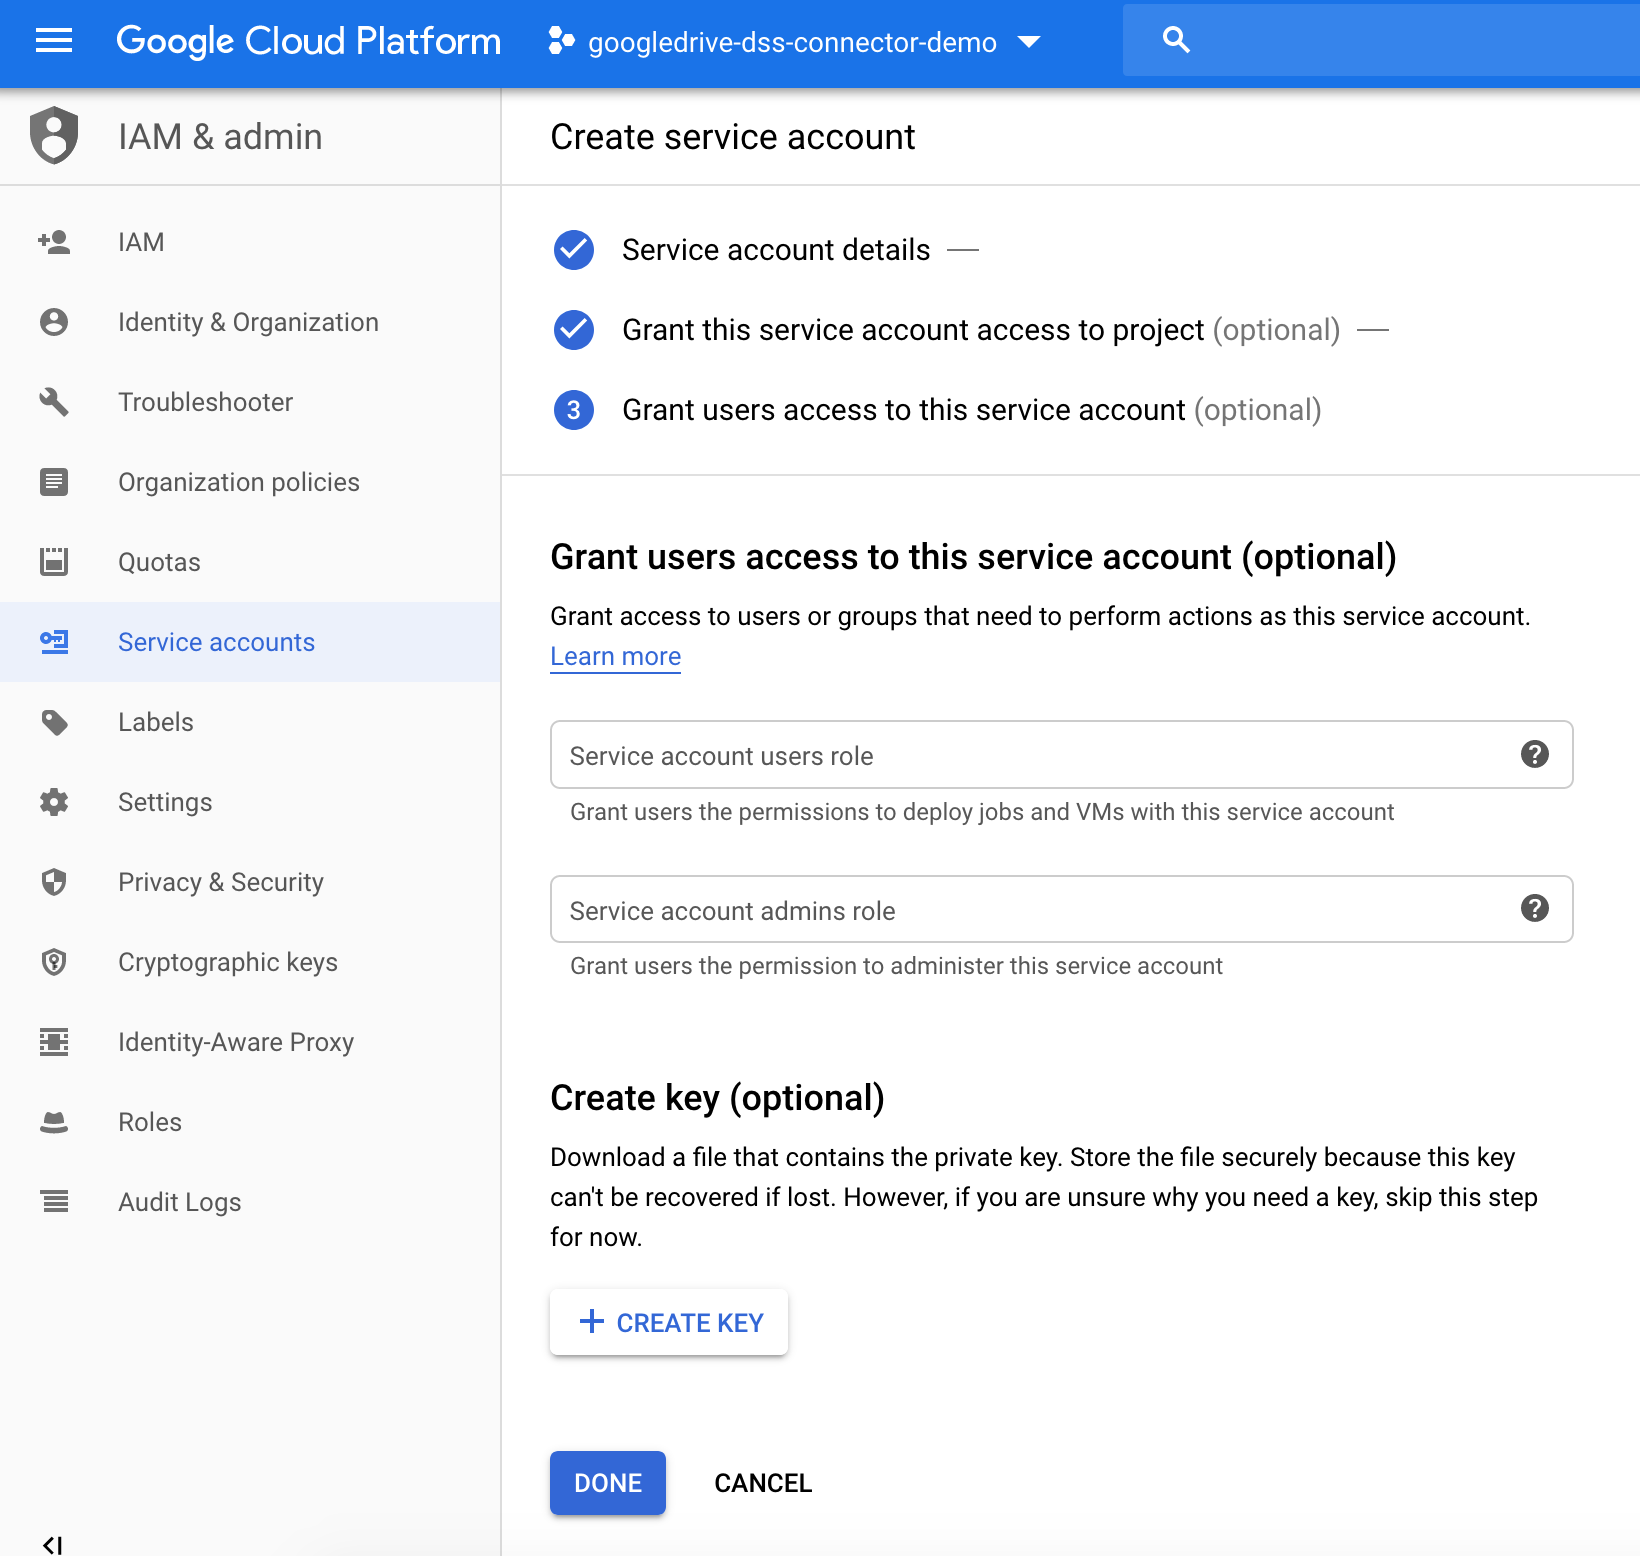
- In the service accounts tab, click on create service account
- Fill in the details and skip step 2 if you want
- On step 3, create a key using the JSON format:
- Save the key and open it with a text editor. You can press Done
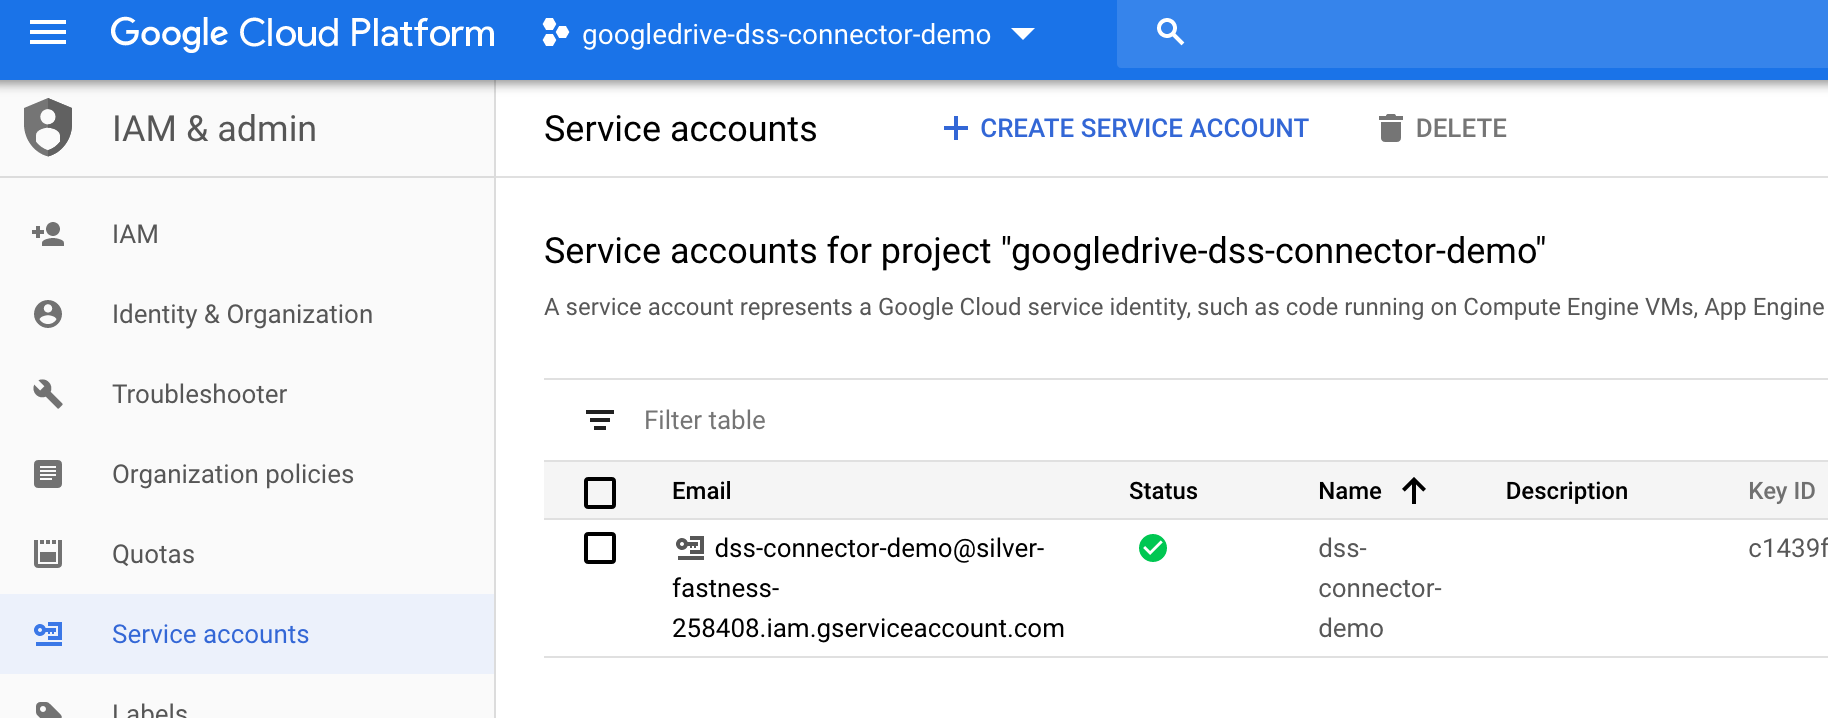
- Write down the service account’s email address for later use
- Go to the plugin’s settings page to add a preset (DSS > Plugins > Googledrive > Settings > Google Drive Token) and add a preset
- In the `Access credentials` box, paste the JSON key copied from your text editor
Using Google’s Single Sign On
- In the credential tabs of your Google Cloud Platform project, create a new credential OAuth Client ID with a Desktop app application type.
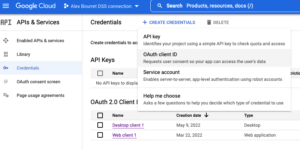
- In the Authorized redirect URIs section, add the domain of your Dataiku instance redirection endpoint. The structure should be
https://<<your instance domain>><<:port number if not 443>>/dip/api/oauth2-callback.
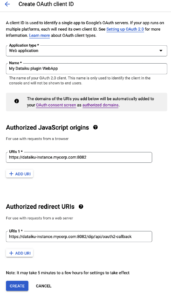
- Copy the client ID / client secret codes
- Create an OAuth consent screen, if not already done for your GCP project. You will need to save the form, but the screen does not need to be verified at this stage.
- On Dataiku, go to the plugin’s settings page to add a preset (Applications > Plugins > Googledrive > Settings > Google Single Sign On) and add a preset
- Paste client ID / client secret generated at the second step
- Make sure Definable inline and Definable at project level are not checked. These two features cannot be used with SSO presets, so making them available would only confuse the plugin’s users.
In order to use the Single Sign On, each Dataiku user will first have to enable it for their account, by going to their profile > Credentials > Name of the Google SSO preset > Edit icon. This will redirect the user to Google’s SSO screen where they can login and grant access to Dataiku. A warning messages will appear for as long as the OAuth consent screen has not been verified.
How to use
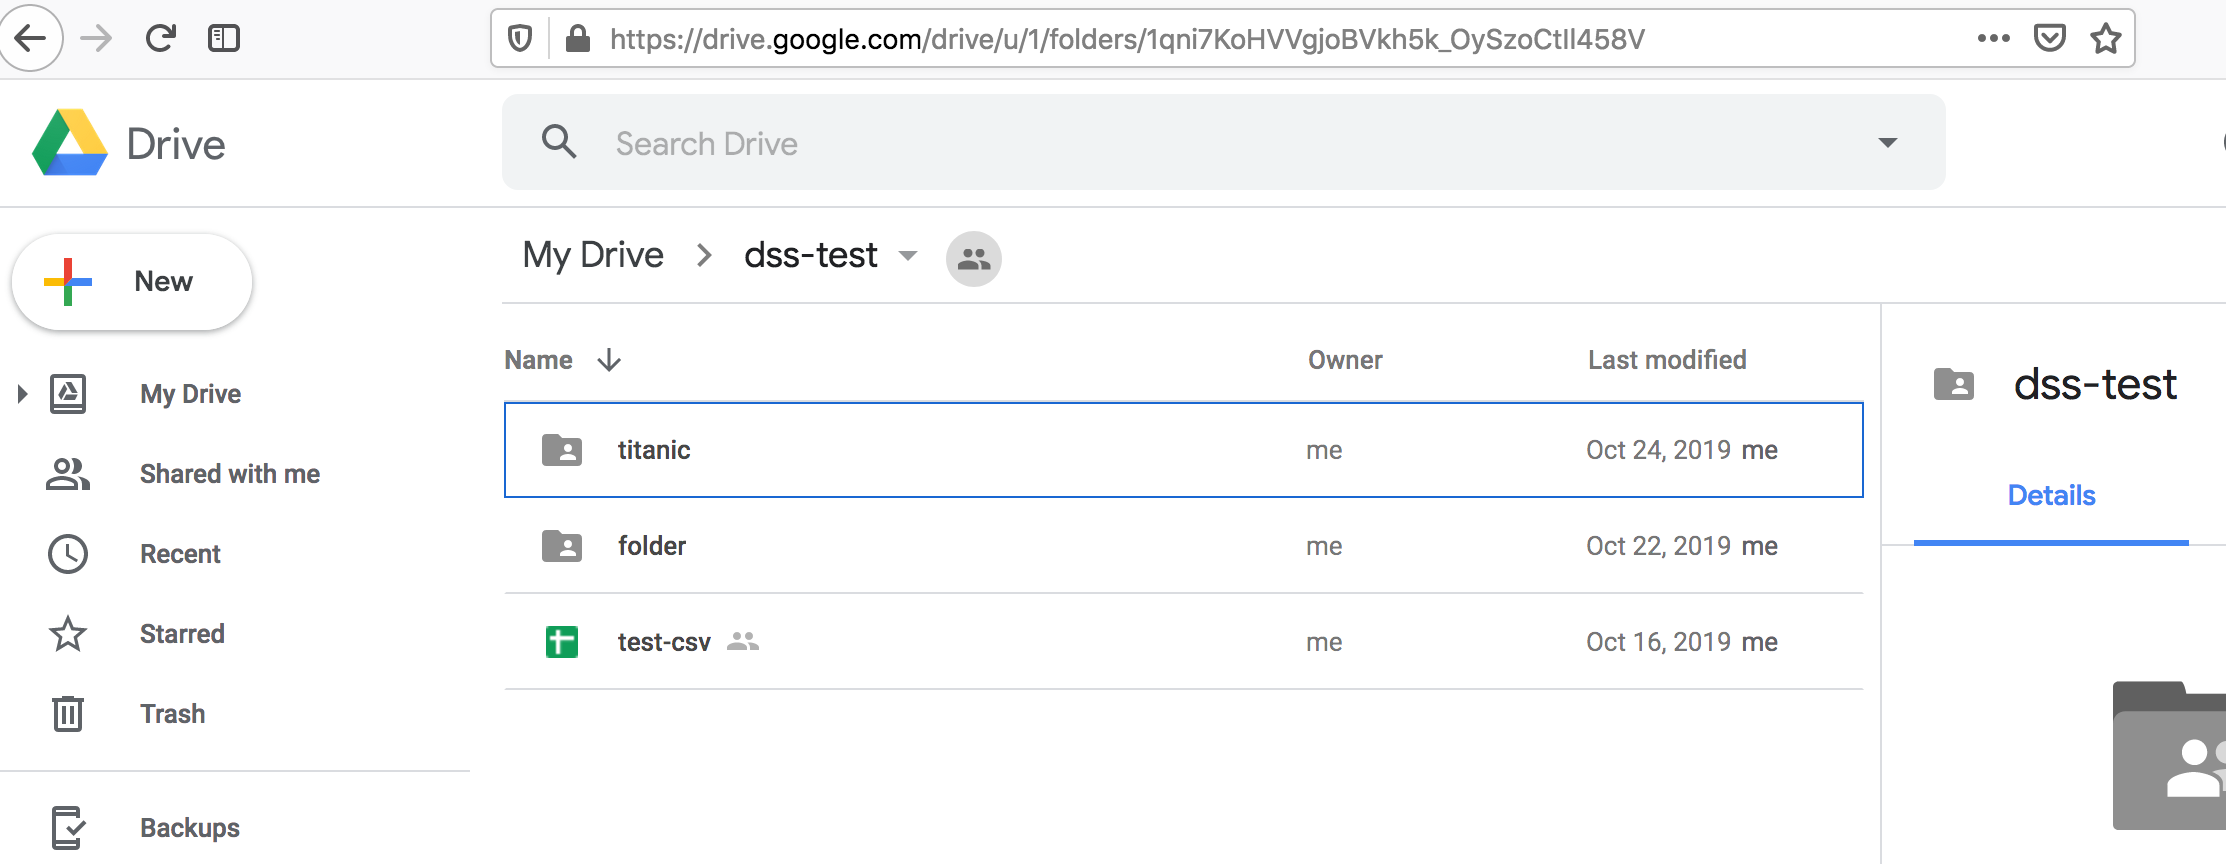
- If you are using a service account, you must first share the Google Drive document or directory with the service account email address you took note of
- Take note of the directory ID, which is the part of the URL after the last slash character
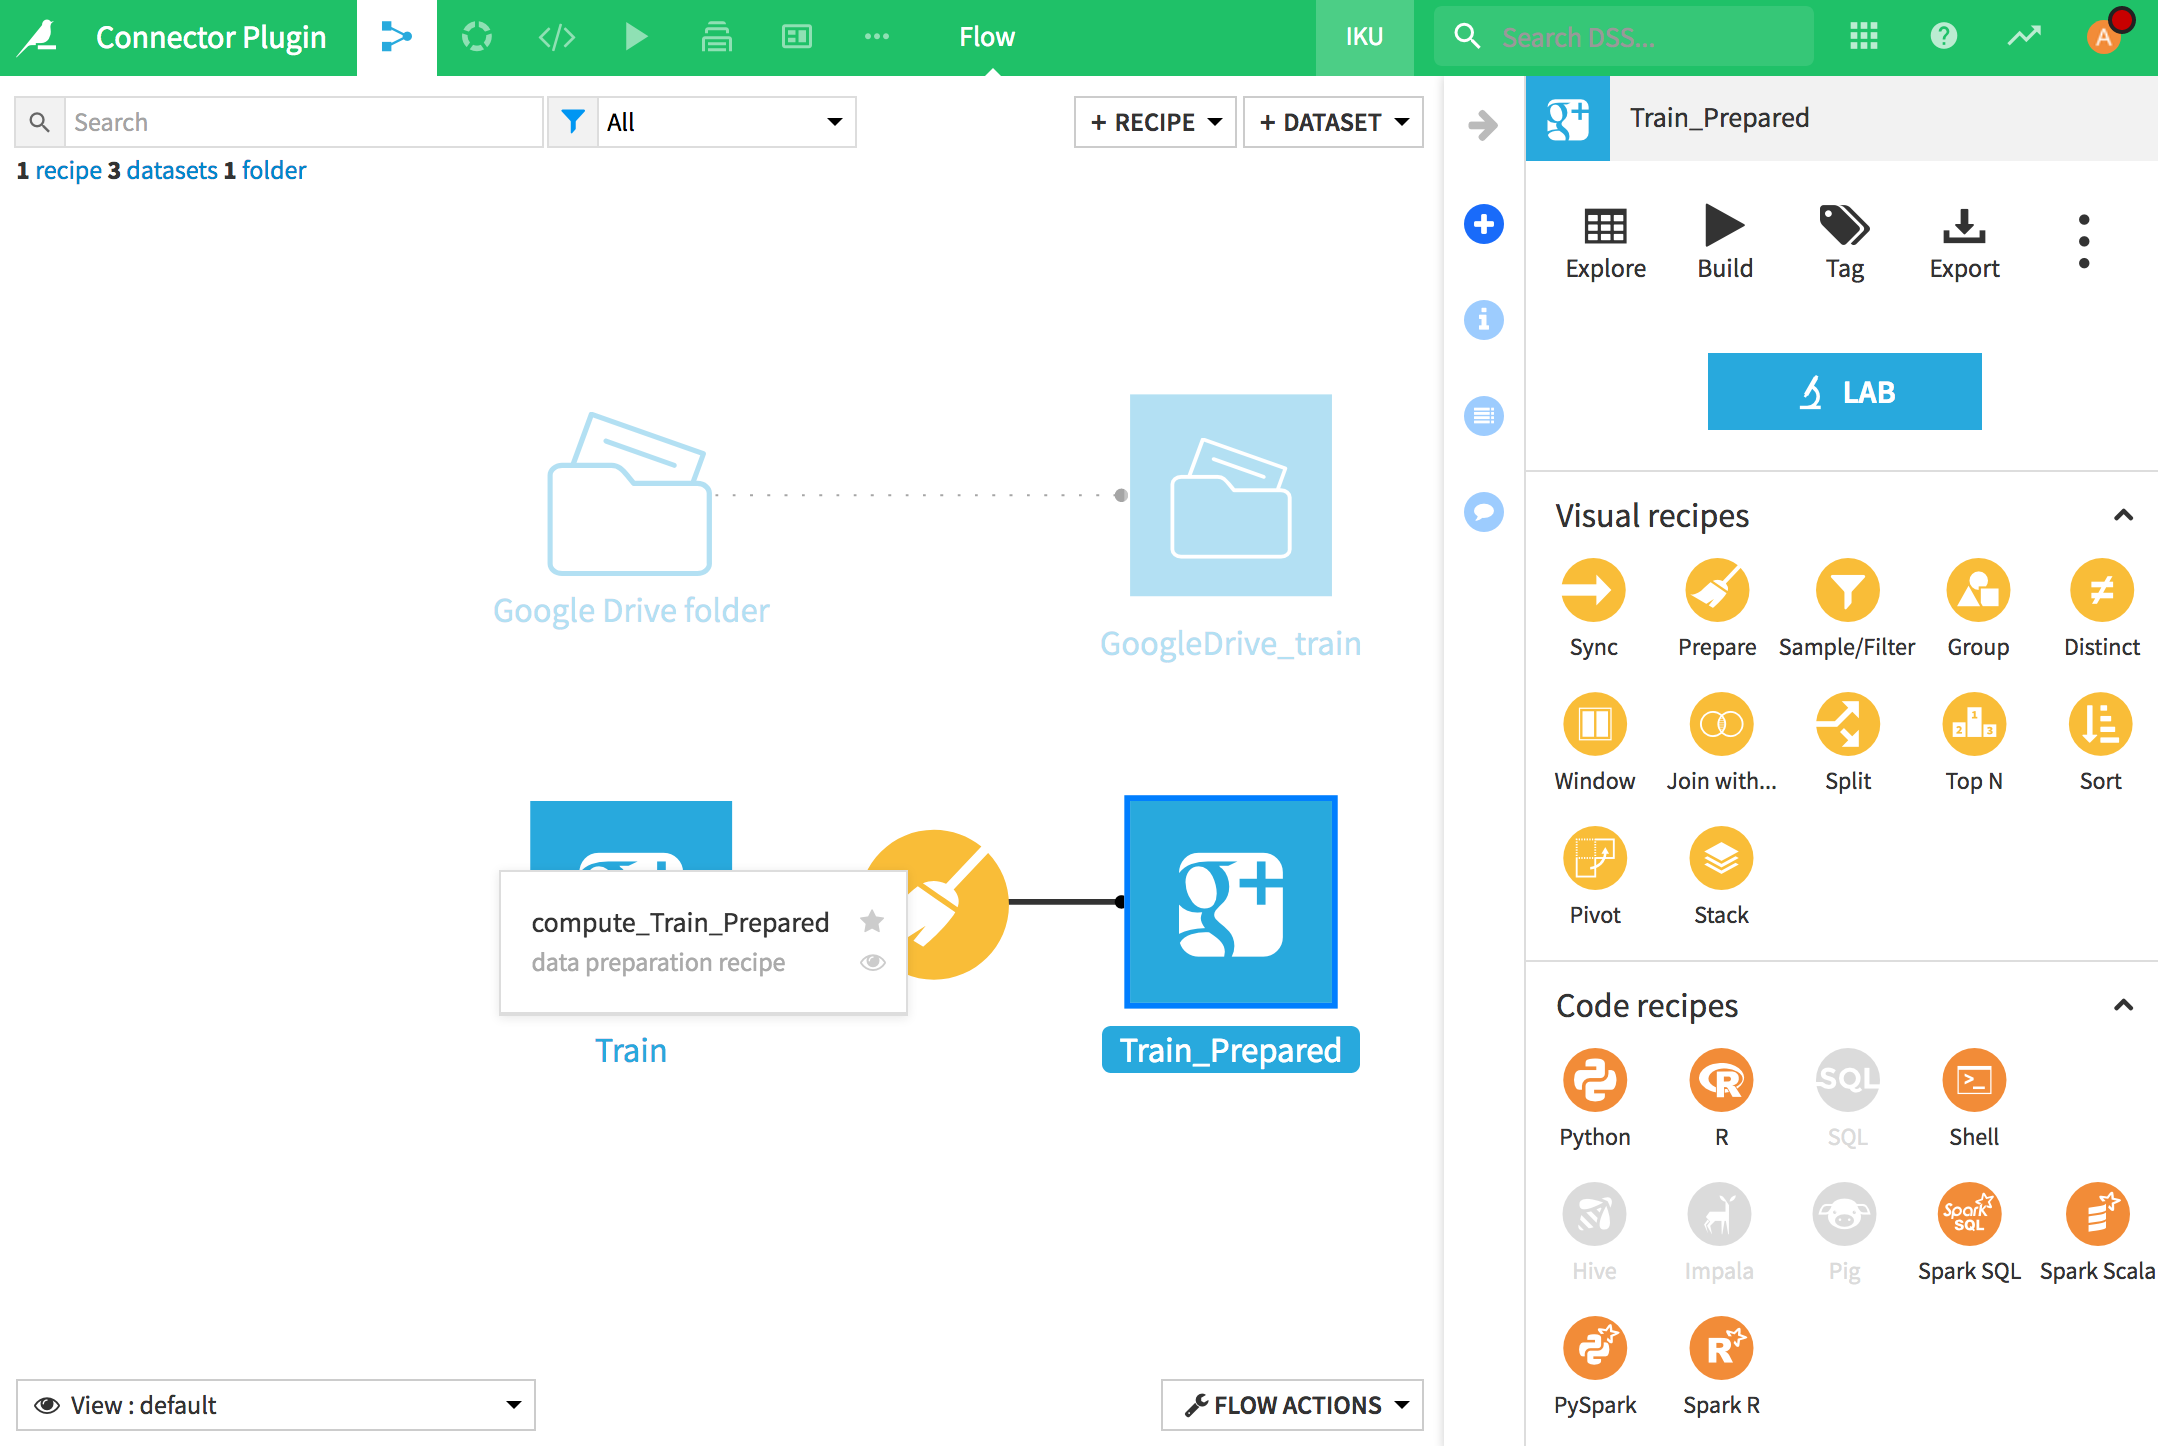
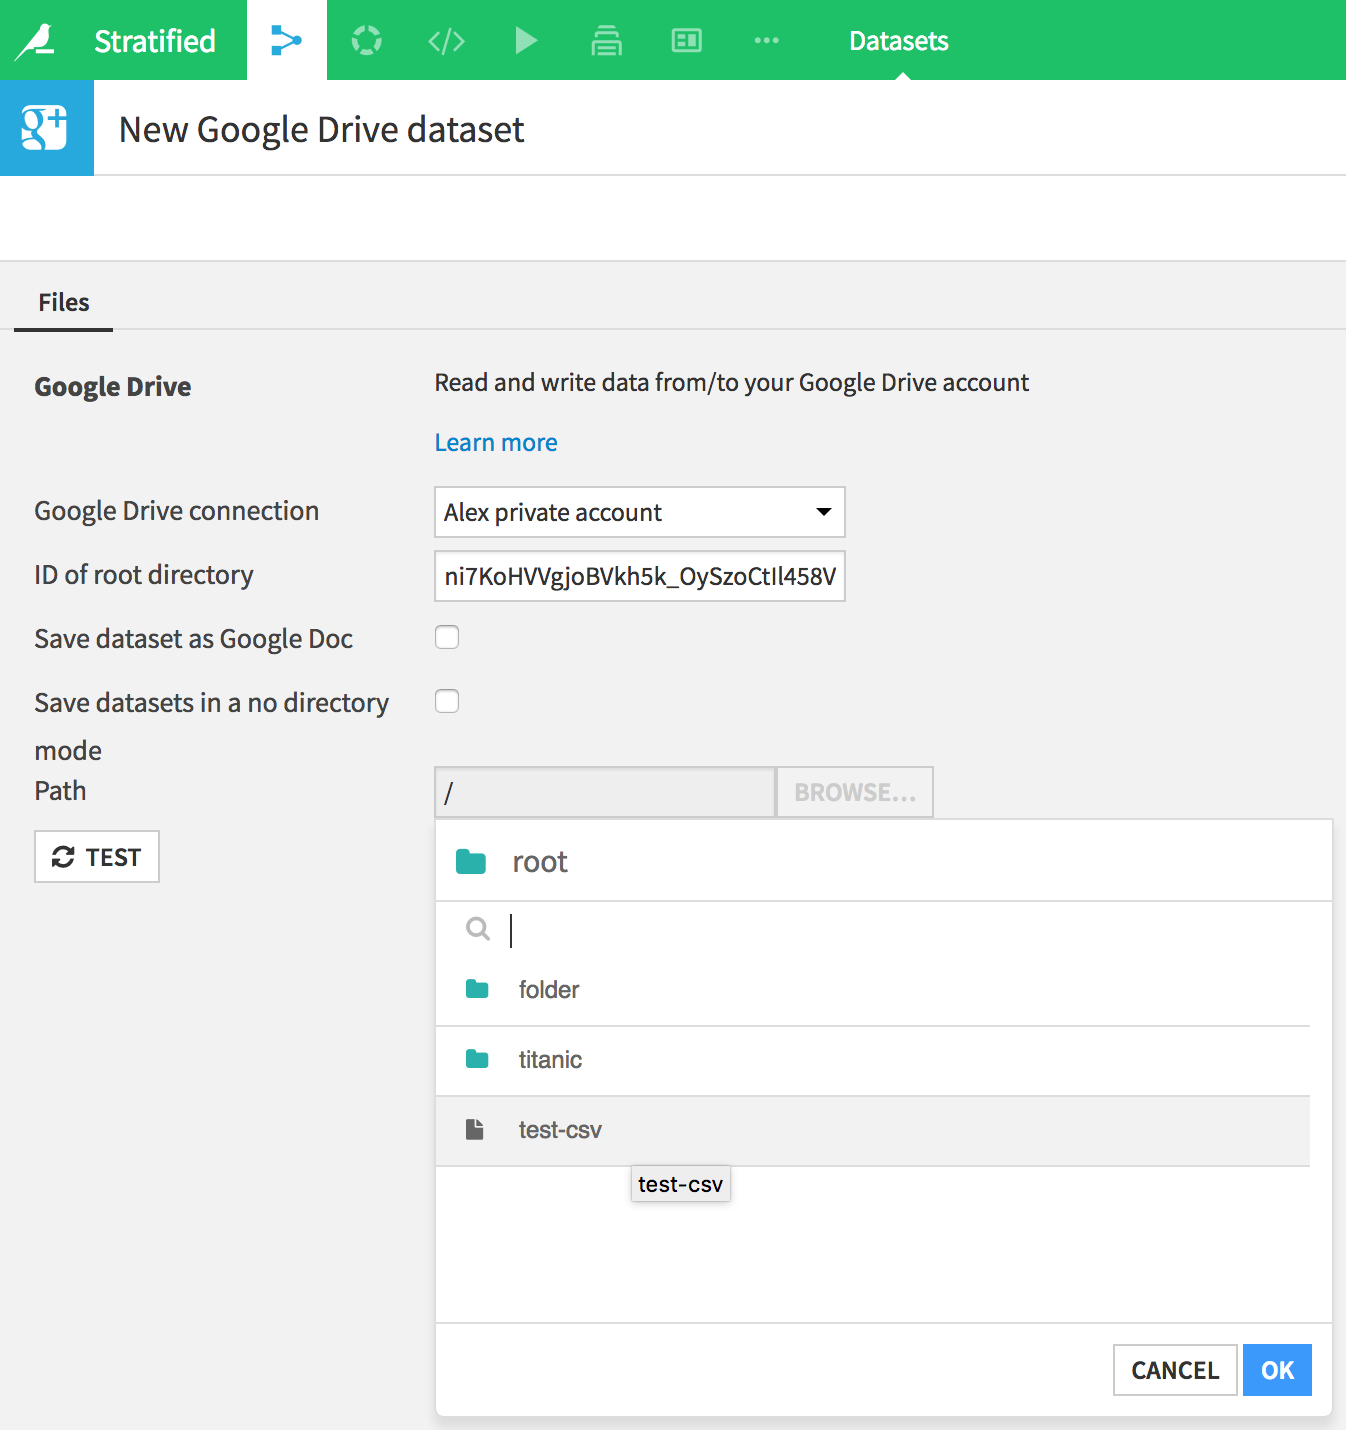
- Create a new dataset in Dataiku DSS by selecting Dataset > Googledrive
- Click Googledrive Filesystem
- Pick your preset for the connection, and in ID of root directory, paste the previously copied directory ID
Write data into Google Drive
- In your DSS project flow, select Dataset > Folder
- Choose Google drive in the Store into parameter and click Create. An External code failed error may appear because you have not selected your preset yet.
- In the Settings tab of the folder, select the connection type and your preset, and save. You can now export your dataset into your newly created Google Drive managed folder.
